download and install visual studio 2019 community edition  Edit
Edit
To install the visual studio 2019 community edition follow the steps below.
Step 1: Download the Visual Studio bootstrapper
click on this link to download community edition
rename the file as vs_community.exe
copy the file to C:\VS2019
Step 2: Download files for offline installation
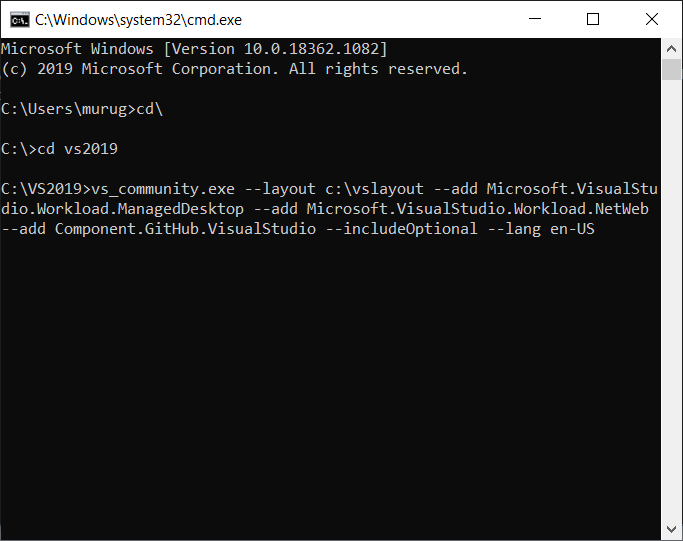
open command prompt
go to c:\VS2019
run the command
vs_community.exe --layout c:\vslayout --add Microsoft.VisualStudio.Workload.ManagedDesktop --add Microsoft.VisualStudio.Workload.Office --includeOptional --lang en-US

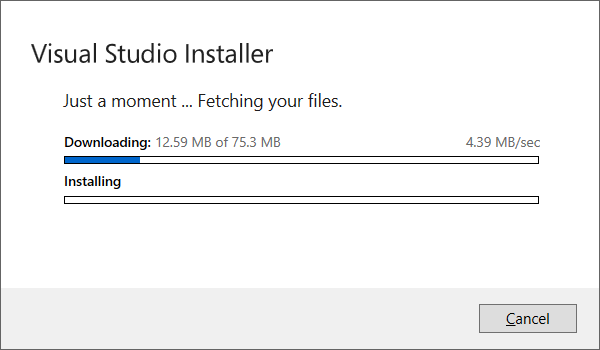
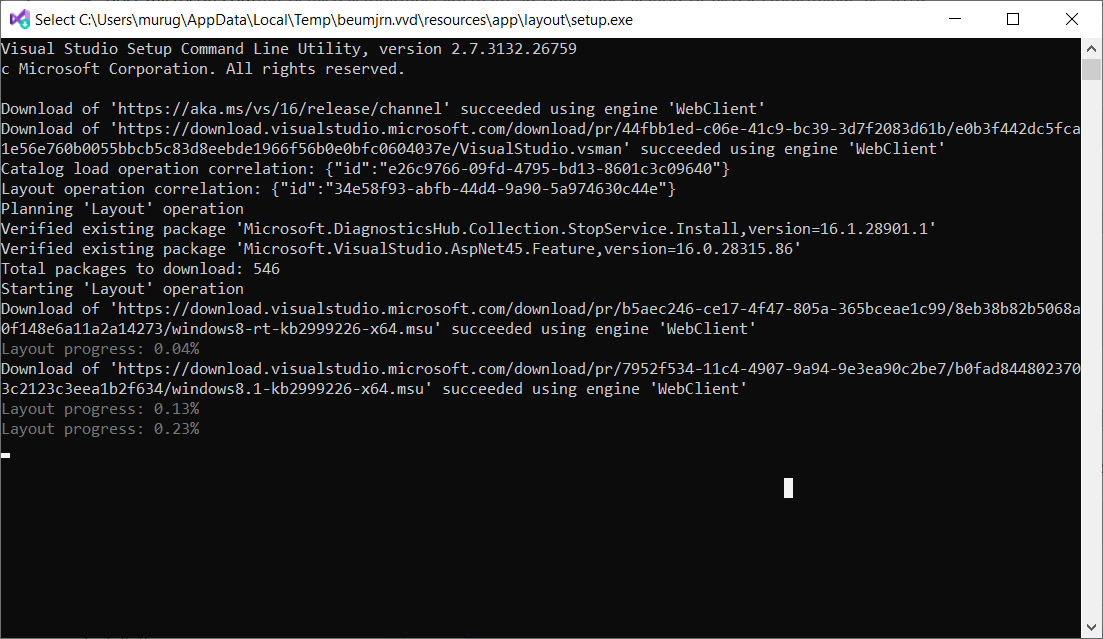
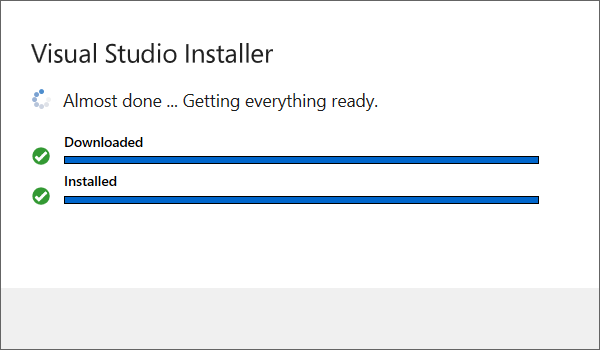
you can see an installation window followed by this window below. Wait for the download to complete. files would be downloaded to C:\vslayout folder.


Step 3: Install Visual Studio 2019 from local cache
To install visual studio 2019 community edition from the local cache.
open command prompt
go to C:\vslayout folder
run the below command
c:\vslayout\vs_community.exe --noweb --add Microsoft.VisualStudio.Workload.ManagedDesktop --add Microsoft.VisualStudio.Workload.NetWeb --add Component.GitHub.VisualStudio --includeOptional

while installing I got this error The following required packages are missing from the layout cache:
To resove this I ran this command in the command prompt
vs_community.exe --layout c:\vslayout --fix
If you are still facing issues select the download & install option. This does not download everything, I guess it downloads the missing files which were throwing the error.

