Angular Getting Started  Edit
Edit
Setting up the development environment
This guide explains how to set up your environment for Angular development using the Angular CLI tool. It includes information about prerequisites, installing the CLI, creating an initial workspace and starter app, and running that app locally to verify your setup.
To use the Angular framework, you should be familiar with the following:
- HTML, CSS
- Javascript
To install Angular on your local system, you need the following:
- Node.js:- Angular requires a current, active LTS, or maintenance LTS version of Node.js.
- npm package manager :- Angular, the Angular CLI, and Angular applications depend on npm packages for many features and functions. To download and install npm packages, you need an npm package manager. This guide uses the npm client command line interface, which is installed with Node.js by default. To check that you have the npm client installed, run npm -v in a terminal window.
Install the Angular CLI
To install the Angular CLI, open a terminal window and run the following command:
- npm install -g @angular/cli
To create a new workspace and initial starter app:
- Run the CLI command ng new and provide the name my-app, as shown here:- ng new my-app
- The ng new command prompts you for information about features to include in the initial app. Accept the defaults by pressing the Enter or Return key.
Run the Application
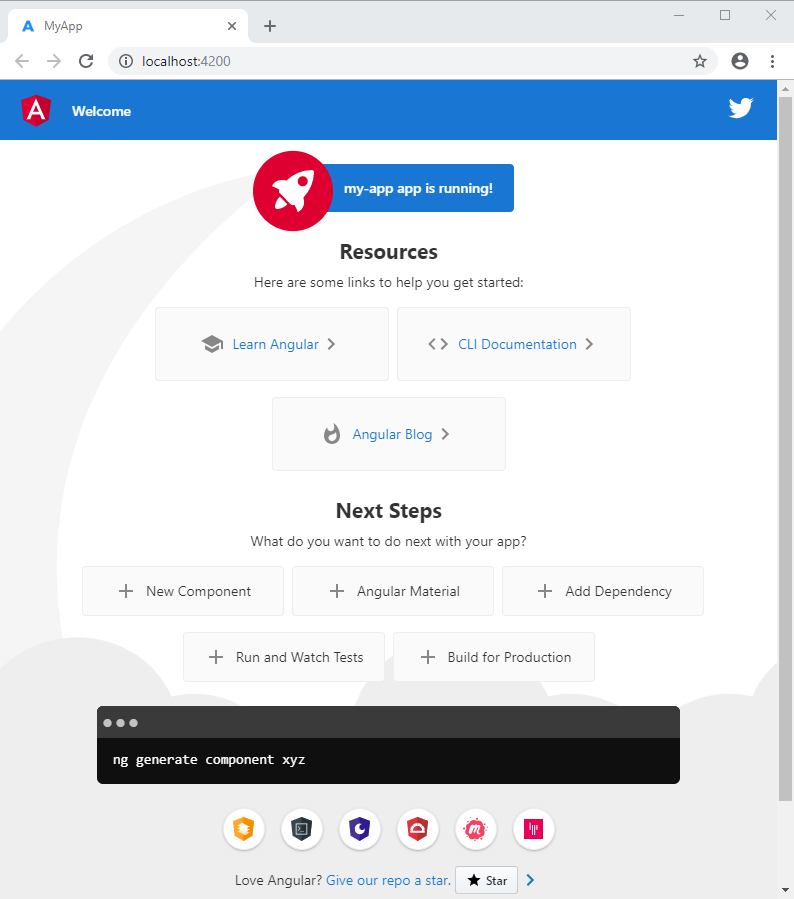
The Angular CLI includes a server, so that you can build and serve your app locally.
- Navigate to the workspace folder, such as my-app.
- Run the following command: cd my-app , ng serve --open
The --open (or just -o) option automatically opens your browser to http://localhost:4200/.


